If you’ve ever felt that your study needs more bookshelves but don’t want to break the bank, you’re not alone. I recently faced this challenge and decided to create my own shelves using the cheapest materials I could find—wooden cladding. With a little creativity and patience, I managed to put up some functional shelves for under £10.
Budget-Friendly Shelving: A Step-by-Step Guide

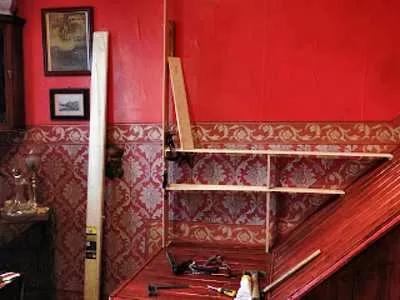
With a tight budget, I bought two packs of wooden cladding from B&Q for just £5.24 each. To get started, I used a plumb line to ensure a straight, perpendicular line on the wall. I then drilled into the wall, inserted rawlplugs, and screwed in a couple of short battens. These battens provided the base for attaching the side-board.

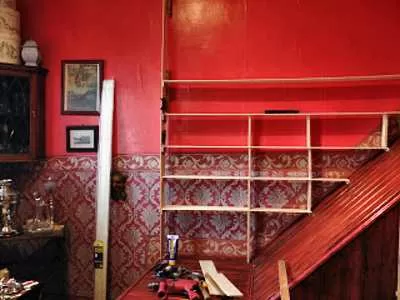
Next, I glued and screwed supports to the inside of the side-board and the facing wall, using plumb lines, spirit levels, and a T-square to keep everything square. Since cladding is thin and not very strong, I added vertical supports at short distances to compensate for the material’s weakness under stress.

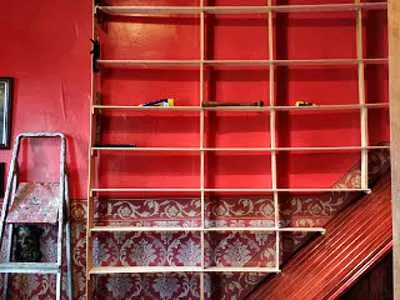
After repeating this process for each shelf, I left it overnight to allow the glue to set. Tomorrow, I’ll finish the project with some fancy details and start varnishing.
The Importance of Patience in DIY
It’s tempting to start loading the shelves with books right away, but patience is key. The varnishing step is crucial to ensure the shelves not only look good but also last longer. Despite the shelves looking slightly wonky in photos due to staggered supports, they are sturdy and functional.
This project shows that you don’t need a lot of money to create something useful and aesthetically pleasing. With a little ingenuity, you can transform your space without emptying your wallet.

