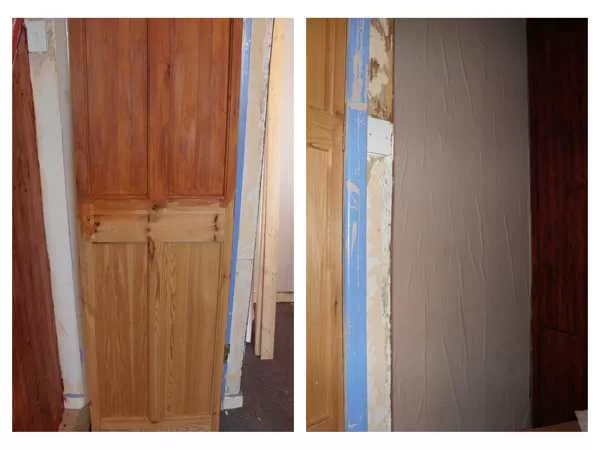
Today’s focus was on adding finishing touches to the room, with cladding, painting, and door restoration taking center stage.
The Evolving Stage: A Cladding Transformation
The “Stage,” a unique feature in the room, received a cladding makeover. This involved measuring, cutting, and securing the cladding panels to the surface. Despite running out of cladding mid-way, a quick trip for more supplies ensured the project continued smoothly.
Painting and Varnishing: Adding Layers of Protection
The wooden surround received its first coat of red paint, adding a vibrant touch. The small window was also treated to a coat of red paint, enhancing its appearance.
A second coat of varnish was applied to “The Stage,” sealing the wood and providing a protective finish.
Door Restoration: A Quick and Easy Refresh
The door received a makeover using Ronseal Quick and Easy Brushing Wax in Cherry. This versatile product is easy to apply, dries quickly, and can be buffed to a beautiful finish. The best part? It’s washable with soapy water!
A Day of Accomplishments: Progress and Patience
While the day involved various tasks, the progress made is evident. The room is taking shape, with the finished cladding, painted walls, and restored door adding character and style.
Project Costs Updated:
- Two packs of cladding: £5.84 each (total £11.68)
Running Total: £78.60
With each passing day, the vision for the transformed room is becoming a reality. Stay tuned for more updates on this exciting DIY journey!

