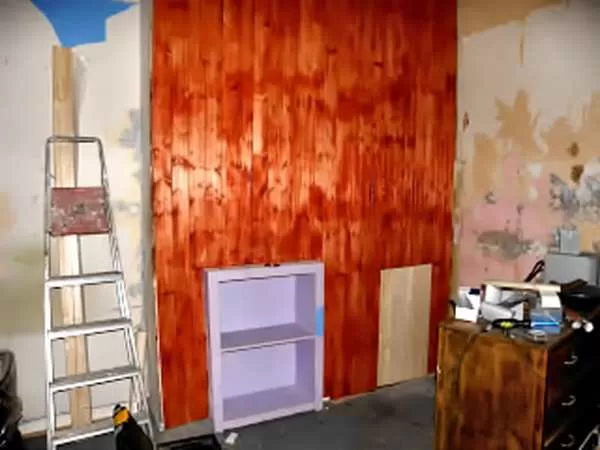
Transforming Your Home with a Sleek Finish
Have you recently installed cladding on your home? If so, you’ve probably reached the point where it’s time to add a protective and aesthetically pleasing finish. Varnishing is a popular choice for cladding, as it enhances its natural beauty and provides a durable coating.
Choosing the Right Varnish:
The type of varnish you select will depend on your desired finish and the specific needs of your cladding material. For example, if you have wooden cladding, you’ll want to choose a varnish designed for wood that matches the desired color and sheen.
Preparing for Application:
Before applying the varnish, ensure your cladding is clean and dry. Any dirt or debris can affect the final appearance of the finish. It’s also essential to sand the cladding lightly to create a smooth surface for the varnish to adhere to.
Application Techniques:
- Start at the top: Begin applying the varnish at the highest point of your cladding and work your way down to avoid drips and runs.
- Even strokes: Use long, even strokes to ensure a smooth and consistent finish.
- Multiple coats: Apply several coats of varnish, allowing each coat to dry completely before applying the next. This will provide a more durable and protective finish.
- Check for drips: Regularly inspect the work for any drips or runs and correct them immediately.
- Admire your work: Take a step back periodically to assess the overall appearance and ensure you’re achieving the desired effect.
Additional Tips:
- Consider using a brush or roller: The choice between a brush or roller depends on the size of your cladding and your personal preference.
- Protect surrounding areas: Use painter’s tape or drop cloths to protect surrounding surfaces from any spills or drips.
- Avoid applying in direct sunlight: Direct sunlight can cause the varnish to dry too quickly, potentially leading to uneven results.
- Allow ample drying time: Ensure the varnish dries completely before applying additional coats or using the area.
Cost Considerations:
The cost of varnishing your cladding will depend on the size of your project, the type of varnish you use, and the amount of labor involved. If you’re doing the work yourself, the primary cost will be the varnish itself.
In conclusion, varnishing your cladding is a rewarding DIY project that can significantly enhance the appearance and durability of your home. By following these tips and choosing the right varnish for your needs, you can achieve a beautiful and long-lasting finish.


