Today’s DIY endeavors kicked off a little later than planned due to some morning commitments. The first order of business was tackling the skirting boards with sugar soap. This magical cleaning solution is a warrior against grime, grease, and general dirtiness. However, it’s important to remember that sugar soap is caustic, so gloves are a must. After a thorough scrub and a rinse with cold water, I let the boards dry completely before applying the first coat of gloss paint. The large window also received a fresh coat.
Now, let’s talk about the fireplace – a true testament to questionable DIY skills. Constructed from a haphazard combination of plasterboard, hardboard, and random scraps of wood, it was a sight to behold. I knew it needed a complete overhaul.
My solution? Veneer. I opted for walnut veneer, a byproduct of the walnut industry. These thin sheets of wood are perfect for covering less-than-ideal surfaces. I purchased mine online and was impressed by their quality. They’re incredibly thin, making them easy to handle but requiring careful attention.
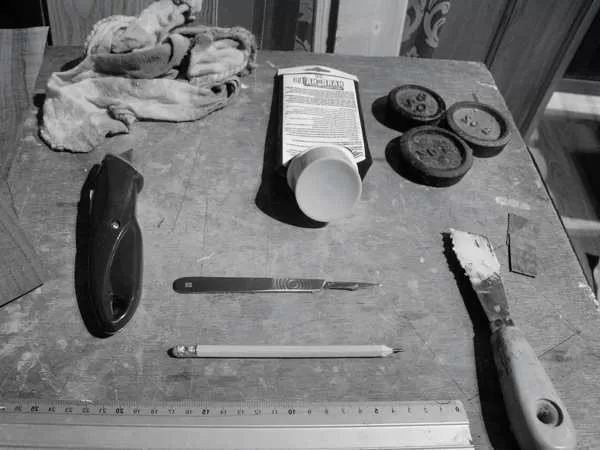
The veneering process involves a few essential tools: weights for pressing the veneer, a wallpaper stripping knife for applying adhesive, wood adhesive itself, a scalpel for precise cuts, a pencil for marking, a steel rule for measuring, and plenty of rags for cleaning up excess glue.
One crucial tip: measure twice, cut once. This adage holds especially true for veneering. I prefer using a surgical scalpel for the cleanest cuts. Another trick is to match the grain pattern on consecutive sheets of veneer for a seamless look.
The front of the fireplace is starting to take shape, but I’ll need more veneer to cover the interior. Once the glue is completely dry, I’ll apply a French polish to enhance the wood’s natural beauty.
Stay tuned for the next update, where I’ll reveal the finished fireplace and share more details about the veneering process.


